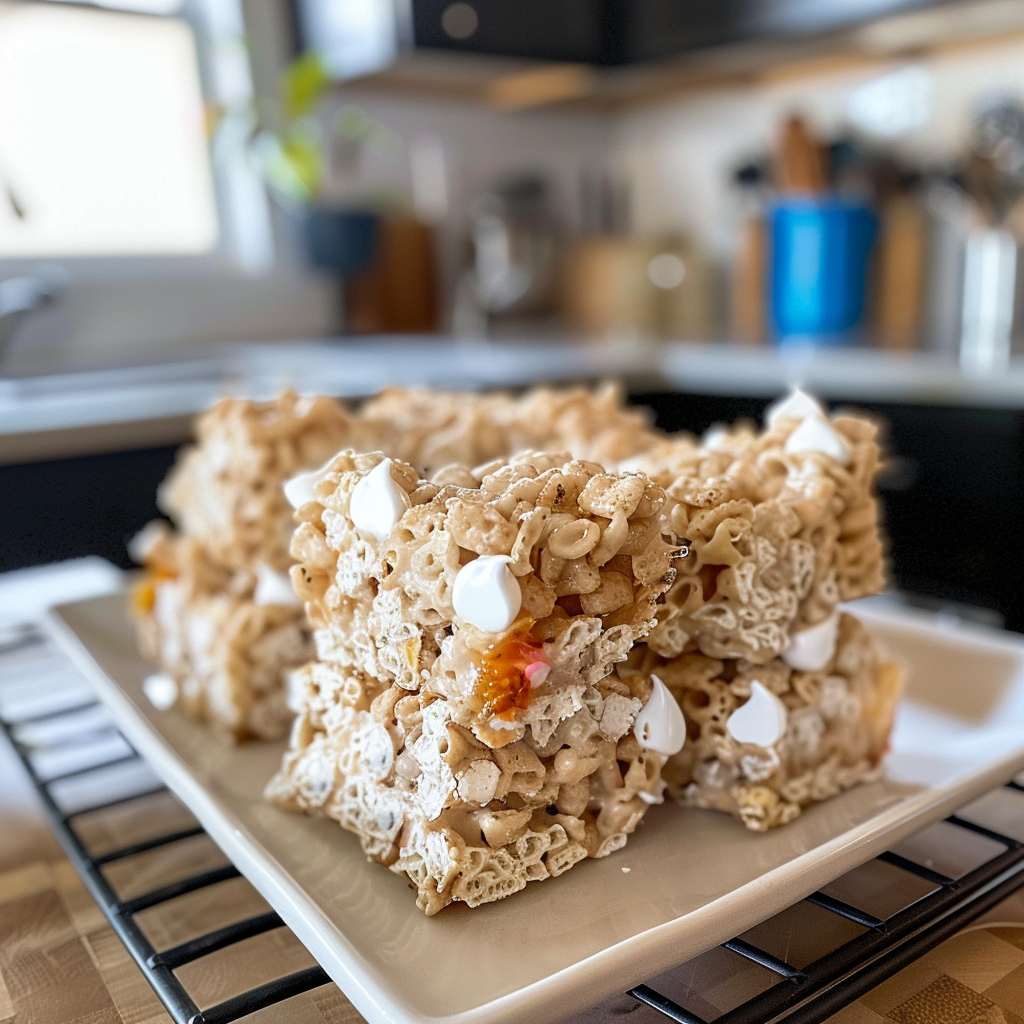
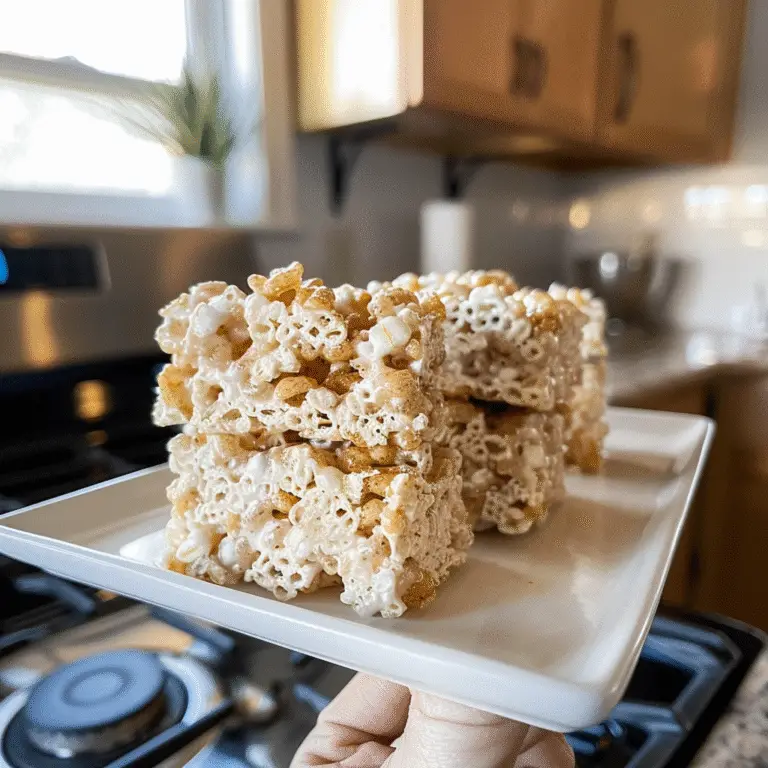
Catch a whiff of sweet marshmallows melting together with crunchy rice cereal, and you’ll instantly feel like a kid again. The delightful gooeyness of homemade rice krispies treats captures the essence of nostalgia and joy in every bite. Picture yourself biting into a soft yet crispy square that practically melts in your mouth, transporting you back to carefree afternoons filled with laughter.
As I reminisce about my childhood days when these delightful treats graced our kitchen counters, I can’t help but smile. Whether it was a school bake sale or a family gathering, these homemade rice krispies treats were always the star of the show. Their simplicity made them the perfect canvas for creativity and fun!
Why You'll Love This Recipe
- These no-bake delights whip up in minutes with just three main ingredients.
- They’re so versatile—you can add sprinkles, chocolate chips, or even peanut butter!
- Their eye-catching appearance will make them the centerpiece of any party or gathering.
- Plus, they are loved by kids and adults alike—who can resist?
I remember one birthday party where my friend’s mom made these delicious squares; the kids gobbled them up faster than you could say “marshmallow!” The laughter and joy that day were unforgettable.
Essential Ingredients
Here’s what you’ll need to make this delicious dish:
- Rice Cereal: Use classic Rice Krispies for that signature crunch; other brands may work but won’t provide the same texture.
- Marshmallows: Mini marshmallows melt evenly and create a gooey texture; you can also use regular-sized ones if that’s what you have on hand.
- Butter: Unsalted butter is best here; it adds richness without overpowering the sweet flavor of the marshmallows.
The full ingredients list, including measurements, is provided in the recipe card directly below.
Let’s Make it Together
Prepare your workspace: Start by greasing a 9×13-inch baking pan with cooking spray or butter to prevent sticking later.
Melt the butter and marshmallows: In a large pot over low heat, melt the butter first. Then add in mini marshmallows and stir until completely melted and smooth. Keep an eye on it to avoid burning.
Add the cereal: Once melted, remove from heat and gradually mix in the Rice Krispies until evenly coated. You want every morsel covered in that gooey goodness!
Transfer to the baking pan: Pour the mixture into your prepared baking pan. Use a spatula or your hands (greased for less stickiness) to spread it evenly into all corners.
Let them cool: Allow your creation to cool at room temperature for about 30 minutes before cutting into squares. The anticipation will be worth it!
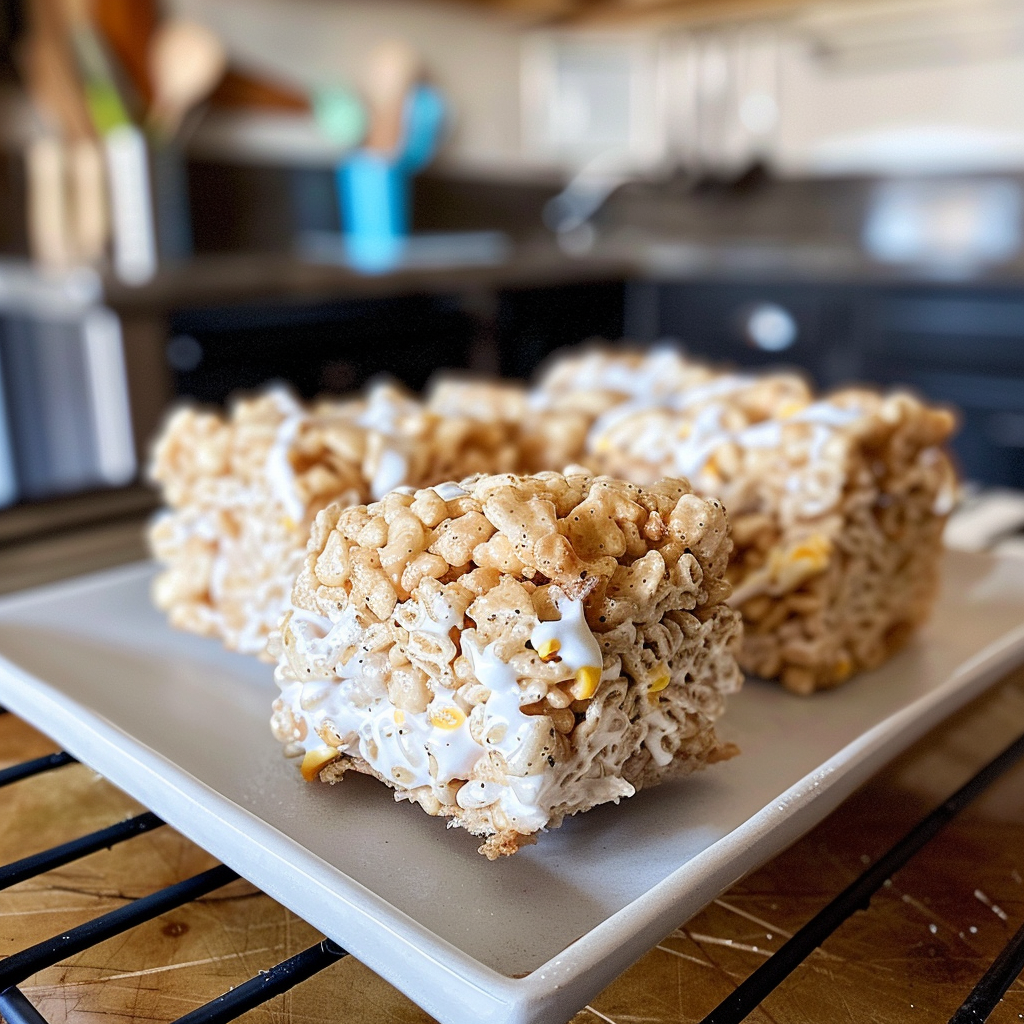
Slice and enjoy!: Once cooled, cut them into squares or rectangles—whatever floats your boat—and get ready to relish your homemade rice krispies treats! Store leftovers in an airtight container (if there are any).
These delightful squares are not just a treat; they’re an experience waiting to happen! Whether you’re making them for yourself or sharing them with loved ones, every bite is bound to bring smiles and spark joy!
Key Tips for Homemade Rice Krispies Treats
Use fresh marshmallows: Fresh marshmallows make a gooey, soft treat that won’t harden. I learned this the hard way after using old ones.
Don’t overheat the mixture: Aim for a gentle melt to keep your treats chewy, not crunchy. One time, I scorched mine—ugh!
Add a pinch of salt: A tiny bit enhances sweetness and balances flavors. It’s like magic! Trust me, it makes all the difference.
Perfecting the Cooking Process
Melt the butter first, then add marshmallows until smooth. Once melted, mix in Rice Krispies and press into a greased pan for even distribution.
Add Your Touch
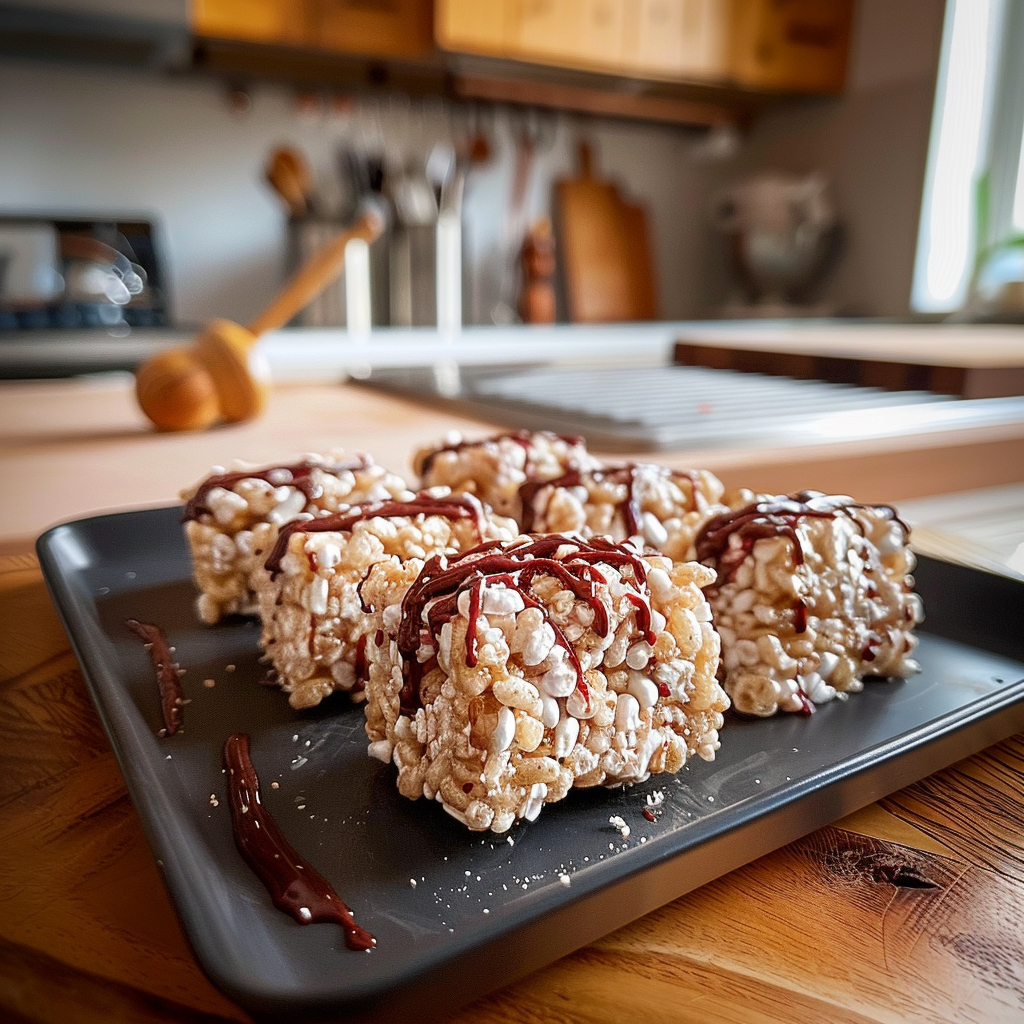
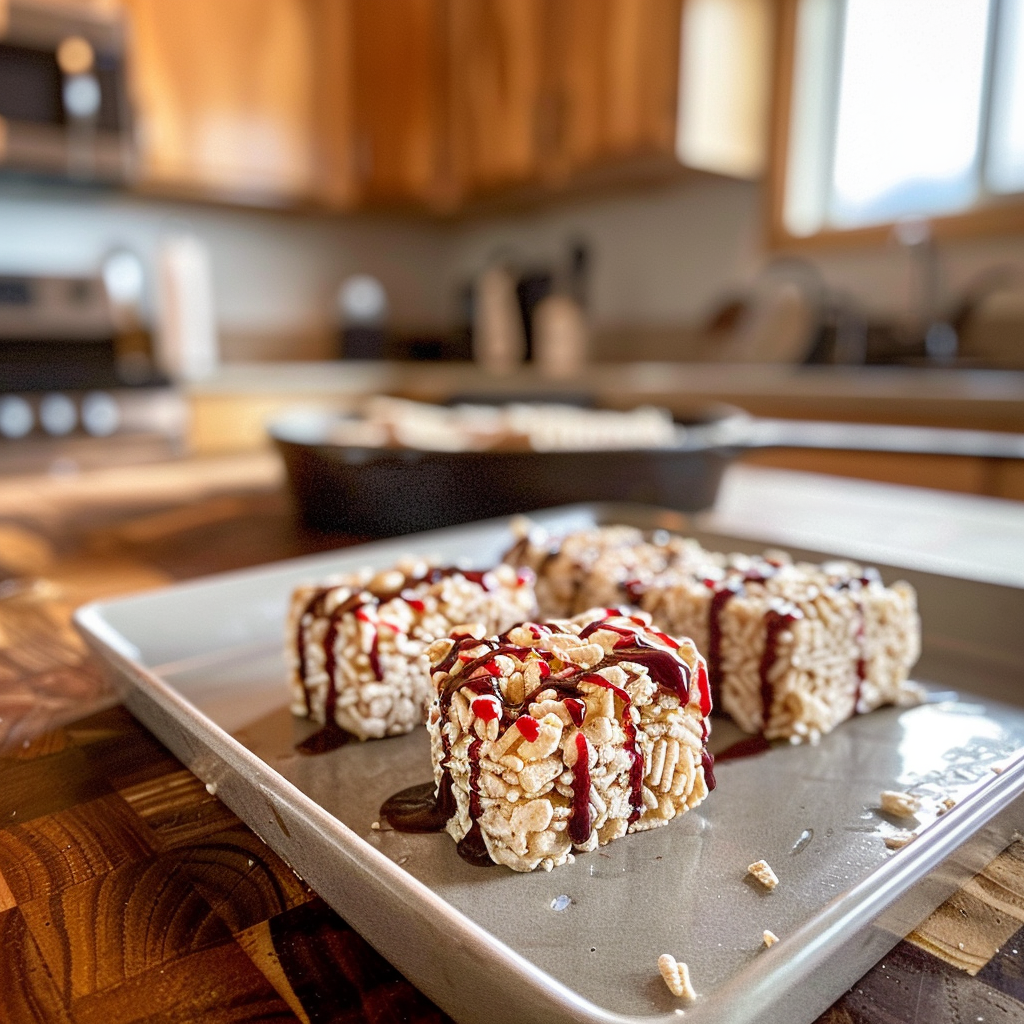
Consider adding chocolate chips or sprinkles for extra fun! You can also swap Rice Krispies for Cocoa Krispies if you want a chocolate twist.
Storing & Reheating
Store your homemade rice krispies treats in an airtight container at room temperature. They stay fresh for up to a week but are best enjoyed within three days.
Chef's Helpful Tips
- To ensure perfect treats, press down firmly when putting them in the pan.
- This helps them hold their shape.
- Try mixing in peanut butter for a delicious twist on flavor!
- Keep your hands wet when pressing to avoid sticking.
I remember making these treats with my niece during a rainy afternoon. We ended up with more marshmallow on our faces than in the bowl, but the laughter made it all worthwhile!
FAQ
Can I use gluten-free cereal for homemade rice krispies treats?
Yes, gluten-free cereal works perfectly as a substitute in this recipe.
How long do homemade rice krispies treats last?
They typically last about one week if stored properly in an airtight container.
Can I freeze homemade rice krispies treats?
Yes, you can freeze them! Just wrap tightly and consume within three months for best quality.
Easy Homemade Rice Krispies Treats
Indulge in the nostalgic joy of homemade rice krispies treats, a simple blend of gooey marshmallows and crispy cereal perfect for any occasion.
- Total Time: 15 minutes
- Yield: Approximately 15 servings 1x
Ingredients
- 6 cups Rice Krispies cereal
- 10 oz mini marshmallows
- 4 tablespoons unsalted butter
Instructions
- Prepare your workspace by greasing a 9×13-inch baking pan with cooking spray or butter.
- In a large pot over low heat, melt the butter. Once melted, add the mini marshmallows and stir until completely smooth.
- Remove from heat and gradually mix in the Rice Krispies until evenly coated with the marshmallow mixture.
- Pour the mixture into the greased baking pan and press down evenly using a spatula or greased hands.
- Allow to cool at room temperature for about 30 minutes before cutting into squares.
Notes
- Use fresh marshmallows to ensure a soft texture.
- For added flavor, consider mixing in chocolate chips or sprinkles.
- Store leftovers in an airtight container for up to one week.
- Prep Time: 10 minutes
- Cook Time: 5 minutes
- Category: Dessert
- Method: Baking
- Cuisine: American
Nutrition
- Serving Size: 1 square (30g)
- Calories: 130
- Sugar: 12g
- Sodium: 50mg
- Fat: 4g
- Saturated Fat: 2g
- Unsaturated Fat: 2g
- Trans Fat: 0g
- Carbohydrates: 21g
- Fiber: <1g
- Protein: <1g
- Cholesterol: 15mg