
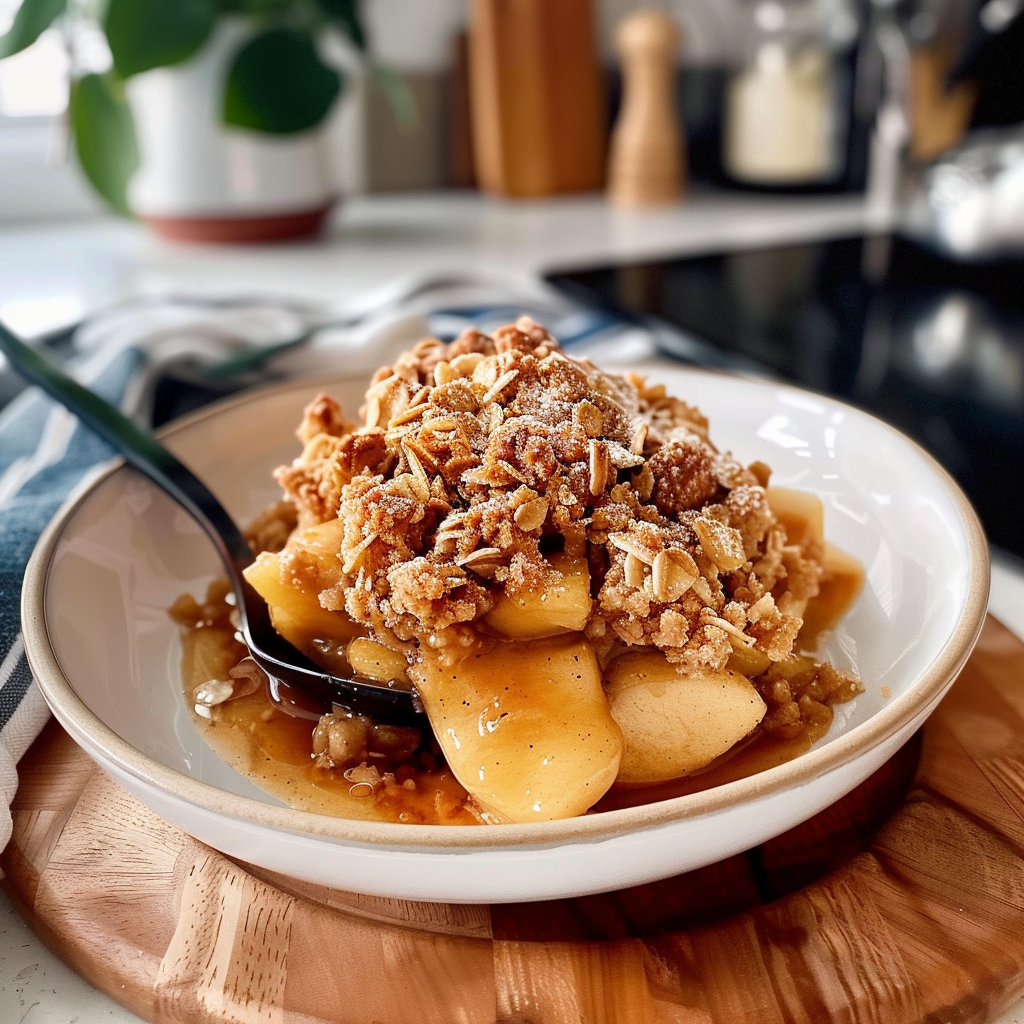
A warm, buttery aroma wafts through the air as you pull your freshly baked apple crisp out of the oven. The golden topping crackles lightly as you dig in, revealing tender apples beneath that are perfectly spiced. This dish isn’t just about taste; it’s a hug in a baking dish that evokes memories of cozy family gatherings and chilly autumn evenings.

Imagine your kitchen filled with laughter and the scent of cinnamon dancing around while friends gather around the table. Who needs fancy restaurants when you can whip up this scrumptious apple crisp with canned apple filling in no time? Get ready for an explosion of flavor that will leave everyone asking for seconds!
Why You'll Love This Recipe
- Apple crisp with canned apple filling is incredibly easy to prepare, making it perfect for busy weeknights.
- The sweet and tart flavor profile pairs beautifully with whipped cream or ice cream.
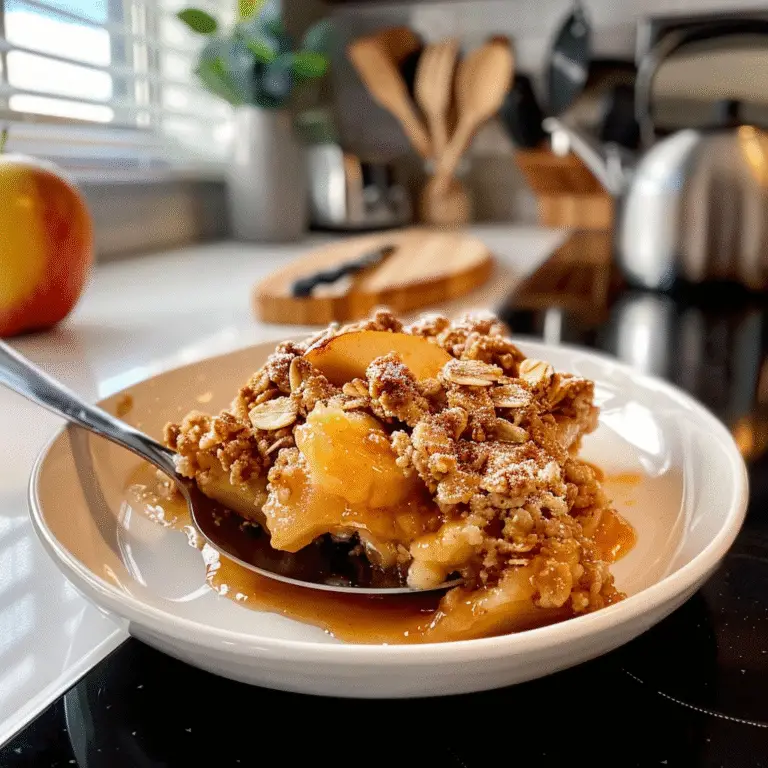
- With its inviting golden crust and vibrant colors, it’s a feast for the eyes too.
- This dessert is versatile enough to be enjoyed year-round or at holiday gatherings.
The first time I made this recipe was during a chaotic family gathering where everything seemed to go wrong except for this delectable treat. Everyone raved about it!
Essential Ingredients
Here’s what you’ll need to make this delicious dish:
- Canned Apple Filling: Use high-quality canned filling for best results; it should be sweet but not overly sugary.
- Oats: Old-fashioned oats give a chewy texture and depth; avoid instant oats for this recipe.
- Brown Sugar: Choose light or dark brown sugar depending on your preference; dark offers a richer flavor.
- All-Purpose Flour: This helps bind the topping together; keep it handy for other baking adventures too.
- Butter: Use unsalted butter for control over saltiness; melted butter creates a rich flavor.
- Cinnamon: Freshly ground cinnamon enhances the warm flavors of the apples; don’t skimp on this essential spice!
- Salt: A pinch balances the sweetness of the filling; it’s like magic in your baking!
- Nutmeg (optional): A dash adds extra warmth and complexity if you’re feeling adventurous.
The full ingredients list, including measurements, is provided in the recipe card directly below.
Let’s Make it Together
Preheat Your Oven: Preheat your oven to 350°F (175°C). Ensure it’s nice and hot so your crisp comes out perfectly baked.
Prepare Your Baking Dish: Grease an 8×8-inch baking dish with cooking spray or butter. This prevents sticking and makes cleanup easier.
Mix Your Topping Ingredients: In a bowl, combine oats, flour, brown sugar, cinnamon, salt, and nutmeg if using. Stir until everything is well mixed.
Add Melted Butter: Pour melted butter into your dry mixture. Use a fork or your hands to blend until crumbly—this is where the magic happens!
Layer Your Canned Apples: Spread the canned apple filling evenly in the greased baking dish. Don’t forget to lick the spoon—it’s part of the process!
Add Topping Evenly Over Apples: Sprinkle your oat mixture over the apples evenly. Make sure every inch is covered because no one likes bare spots!
Bake Until Golden Brown: Bake in preheated oven for 30-35 minutes until bubbly and golden on top. The aroma will make you impatient—I promise it’s worth it!
Now that you have successfully created an irresistible apple crisp with canned apple filling, serve it warm alongside vanilla ice cream or whipped cream for an unforgettable experience! Enjoy every bite as you watch smiles spread around your table—it’s happiness served in a bowl!
You Must Know
- Choosing the right apples enhances flavor; sweet varieties like Fuji or Gala are excellent choices.
- Using a mix of oats and flour creates an enticing topping texture.
- Don’t skip the cinnamon; it adds warmth and depth.
Perfecting the Cooking Process
Begin by mixing the canned apple filling with sugar and spices before preparing your crisp topping. This sequence ensures the flavors meld beautifully while you work on that crunchy layer.

Add Your Touch
Feel free to swap out some flour for almond flour for a nutty flavor or add some chopped nuts for extra crunch. The possibilities are endless, just as my mishaps with burnt edges have taught me!
Storing & Reheating
Store leftover apple crisp in an airtight container in the fridge for up to five days. To reheat, pop it in a 350°F oven until warm and crispy again—trust me, soggy is not a good look here.
Chef's Helpful Tips
- For a truly impressive apple crisp, always use fresh spices; they make a world of difference in flavor.
- Ensure your topping is evenly distributed for consistent crunchiness.
- Don’t be afraid to experiment with different sweeteners like brown sugar or maple syrup for added depth.
I’ll never forget that time I brought this apple crisp to a potluck, and it vanished faster than you can say “second helping.” Friends still ask for the recipe, which makes me feel like a rockstar in the kitchen!
FAQ
Can I use fresh apples instead of canned filling?
Absolutely! Just peel, slice, and cook them down with sugar before using.
Is there a gluten-free option for this recipe?
Yes! You can substitute regular flour with gluten-free flour or almond flour.
How do I prevent my topping from burning?
Cover with foil halfway through baking if it browns too quickly; remove later to crisp up.
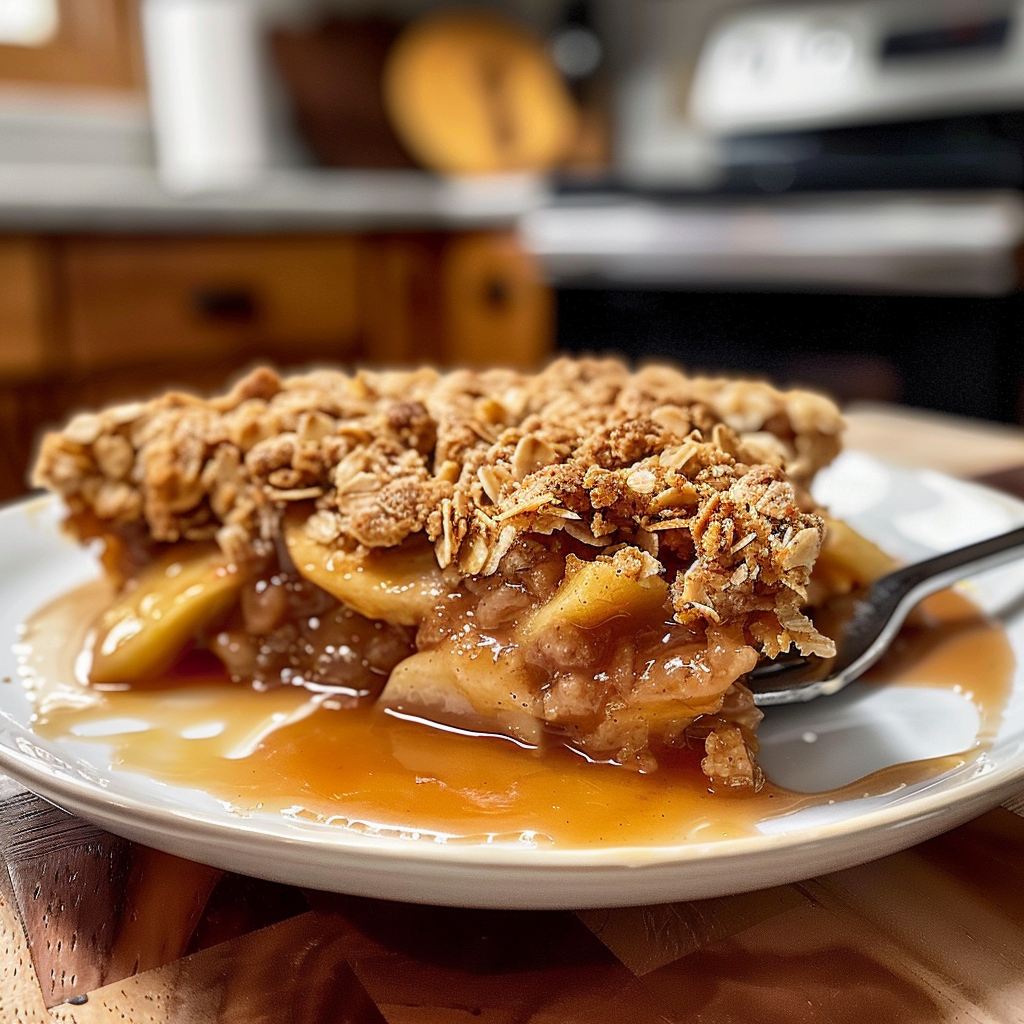
Delicious Apple Crisp with Canned Apple Filling
Delight in a warm, comforting apple crisp featuring canned apple filling. This quick dessert is perfect for gatherings and sure to impress with its sweet, crunchy topping.
- Total Time: 50 minutes
- Yield: Serves 8
Ingredients
- 1 can (21 oz) canned apple filling
- 1 cup old-fashioned oats
- 1/2 cup all-purpose flour
- 1/2 cup brown sugar (light or dark)
- 1/4 cup unsalted butter (melted)
- 1 tsp ground cinnamon
- 1/4 tsp salt
- 1/4 tsp nutmeg (optional)
Instructions
- Preheat your oven to 350°F (175°C) and grease an 8×8-inch baking dish.
- In a bowl, mix oats, flour, brown sugar, cinnamon, salt, and nutmeg until well combined.
- Stir in melted butter until the mixture is crumbly.
- Spread the canned apple filling evenly in the baking dish.
- Top with the oat mixture, ensuring it covers the apples completely.
- Bake for 30-35 minutes until bubbly and golden brown on top.
Notes
- For added crunch, consider mixing in chopped nuts or replacing some flour with almond flour.
- To enhance flavor, replace cinnamon with a spice blend or add fresh ginger.
- Prep Time: 15 minutes
- Cook Time: 35 minutes
- Category: Dessert
- Method: Baking
- Cuisine: American
Nutrition
- Serving Size: 1 slice (85g)
- Calories: 210
- Sugar: 18g
- Sodium: 55mg
- Fat: 9g
- Saturated Fat: 5g
- Unsaturated Fat: 4g
- Trans Fat: 0g
- Carbohydrates: 33g
- Fiber: 2g
- Protein: 2g
- Cholesterol: 15mg